|
A great family or bridal party photo can be a priceless keepsake to commemorate weddings and other family milestone events; and families love to have as many of the group as possible in each shot. That can present interesting challenges for the photographer. We want the shot that best captures the enjoyment of the moment, but there always seems to be someone who doesn’t look good. This is especially true since smiles can “decay” at different rates as people try to hold them. Adobe Photoshop and other photo-editing software can be a lifesaver for photographers. If there are multiple shots of the same group, replacing the “bad” face in the group can be replaced with a better version from another photo. Step 1 Choose a pair of photos that include the person whose face needs help. Open both and duplicate both (Image>Duplicate in Photoshop and other image editors.)  Step 2 Choose the photo that captures the best of the group. That will become your final image. Here the groom’s daughter was moistening her lips when the shutter clicked, but everyone else looked good. We need to replace her face with the one in the other shot where she is smiling.  Step 3 Using the Lasso or Quick Selection Tool, select the “good” face from one photo. Feather your selection slightly. 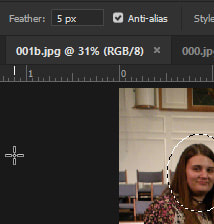 Step 4 Copy your selection (Edit>Copy or CTRL+C) and paste it into the other photo (Edit>Paste or CTRL+V.) It will plop the copied image onto a new layer in the other photo. 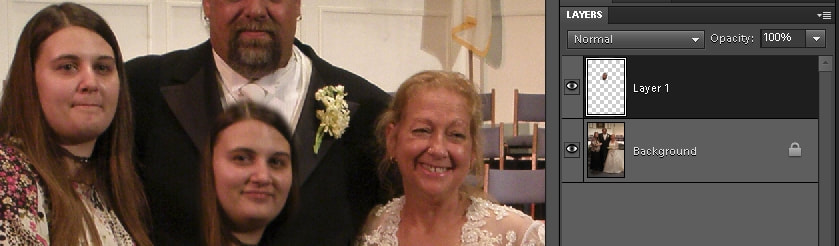 Step 5 Reduce the opacity of the new layer and with the Move Tool (V) move the new face over the ‘bad’ face. 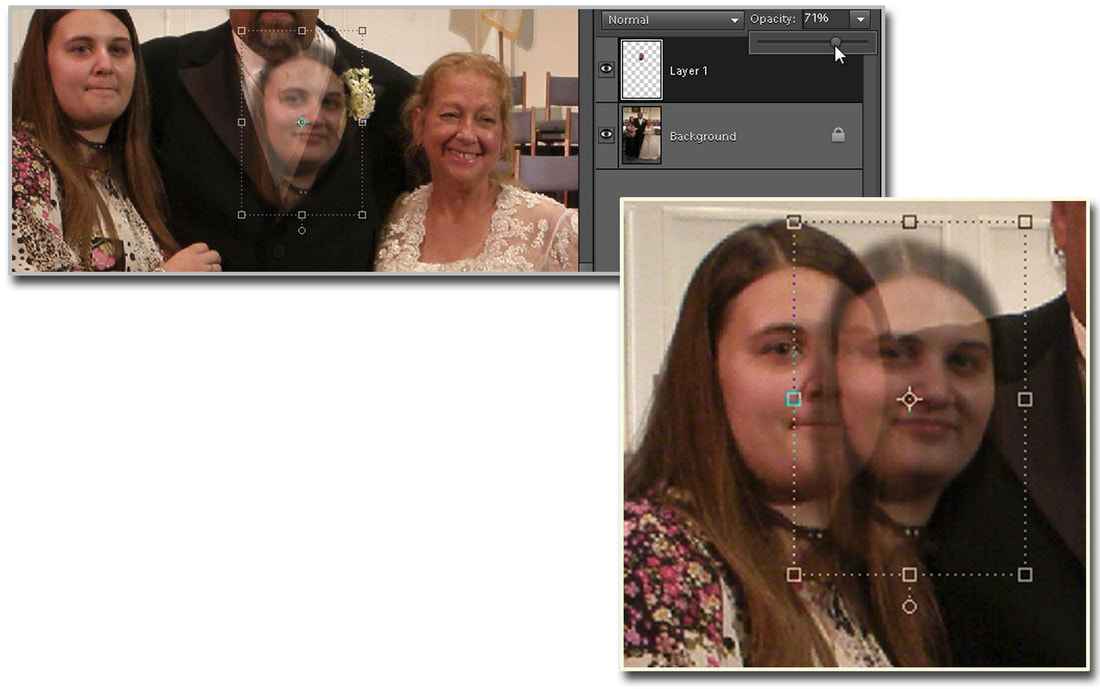 Step 5 Align the eyes and any part in the hair. If necessary, reduce the opacity until you can see the parts to be aligned in the under layer.  Step 6 Rotate and stretch the new face layer until it looks right. Then increase the opacity to 100%. 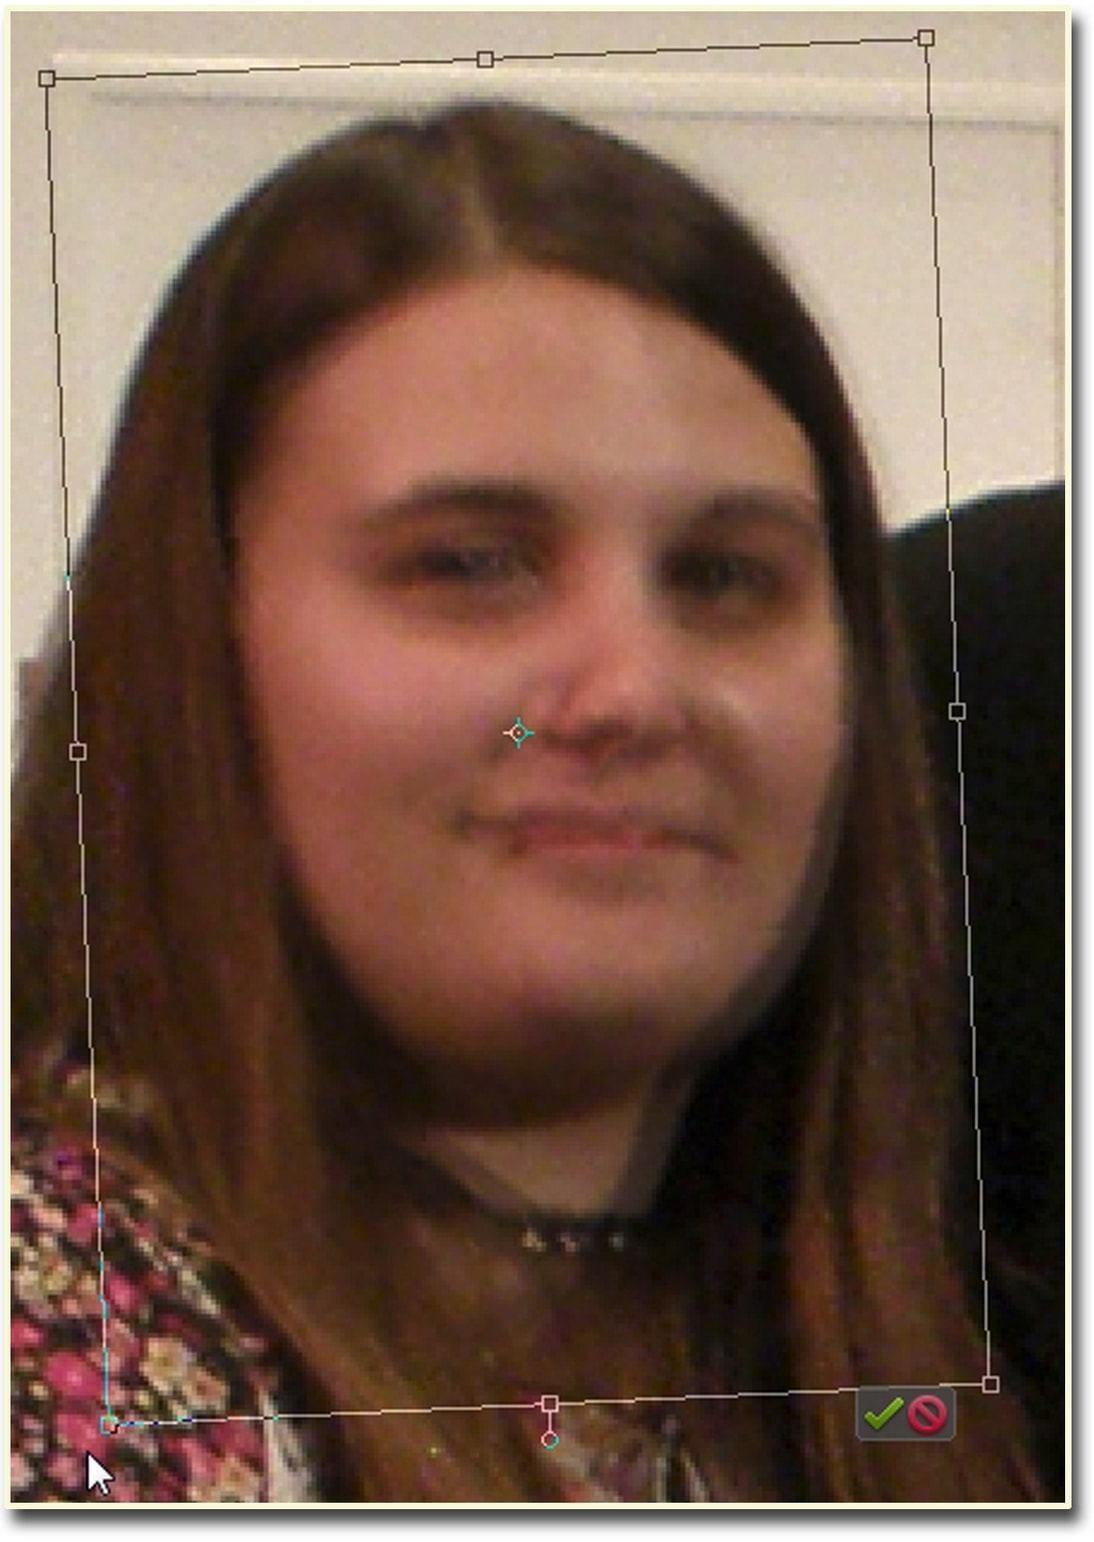 Step 7 Save the photo with the layers as a .PSD file (Photoshop’s multi-layer image file.) Then flatten the layers (Layers>Flatten Image) and save the completed photo. Save it with a different filename than the original so that you can go back and redo it, if necessary. 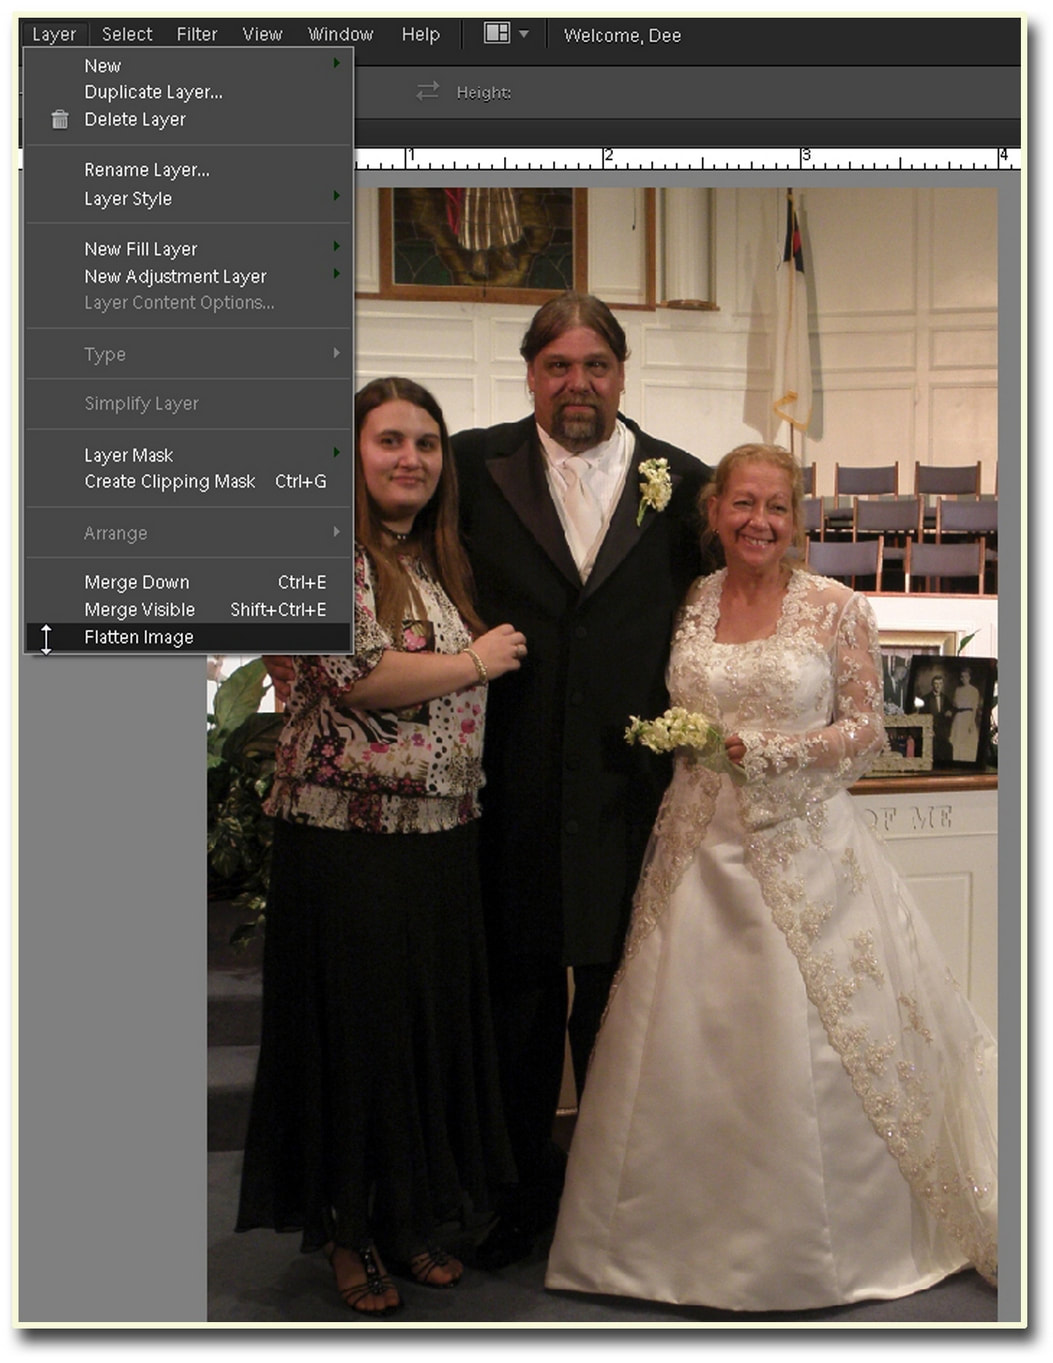  Done! Now everyone looks cheerful... When shooting group photos it is often useful to use the "Burst" or continuous shooting mode. That mode is designed for sports photography, but works very well here, too. It gives you several shots that are nearly the same, so you can choose faces or other areas to "lift." Save your work as a PSD file often. You can replace just the mouth but sometimes that doesn’t work because the eyes won’t be “smiling.” You can replace eyes that are closed – there’s always somebody that blinks right when the shutter clicks.
0 Comments
|
Archives
July 2024
Categories
All
|
 RSS Feed